Alongside your gardening supplies, making compost for your garden will make sure that you have everything you need for healthy crops. For a good compost, you’ll need a mixture of 50/50 materials rich in nitrogen and carbon. You can find nitrogen in grass clipping, for example, and carbon in woody stems, for example. Unpleasant in…

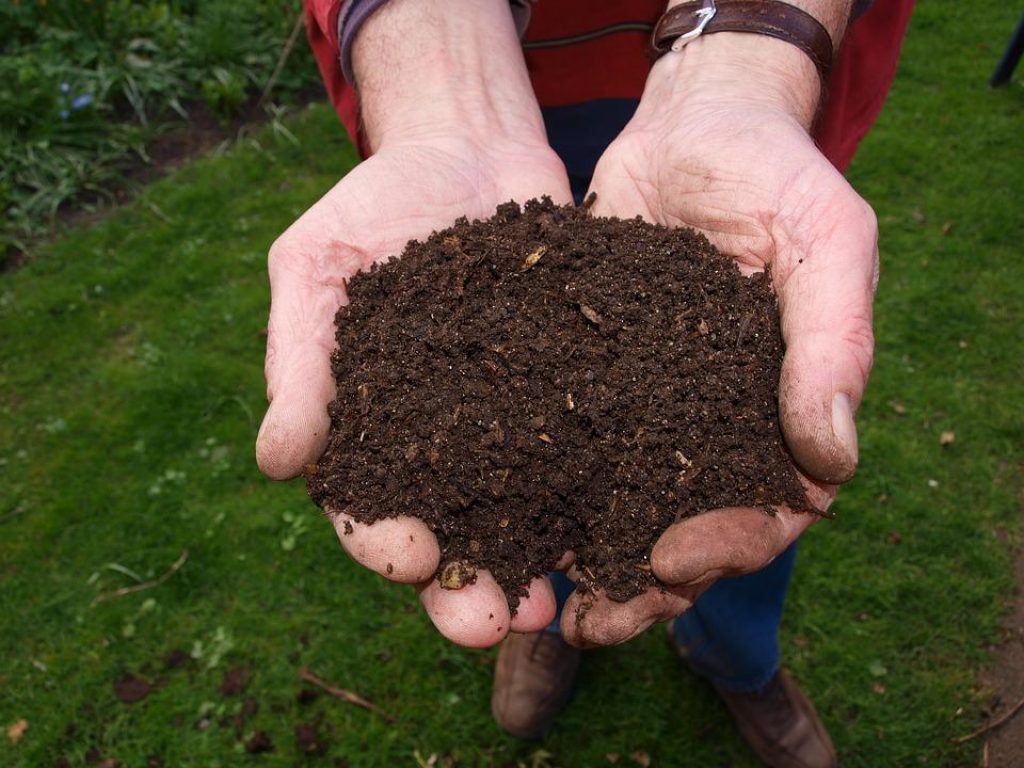
Alongside your gardening supplies, making compost for your garden will make sure that you have everything you need for healthy crops. For a good compost, you’ll need a mixture of 50/50 materials rich in nitrogen and carbon. You can find nitrogen in grass clipping, for example, and carbon in woody stems, for example.
Unpleasant in sight and smell, cold compost is a great way of using your food waste to complement your plants’ growth.
Types of Compost
You can make cold or hot compost; cold compost is simple, as it involves just collecting organic waste and let it decompose, while hot compost is faster but for more experienced gardeners. Hot compost is ready between one to three months, needing carbon, nitrogen, water, and air to feed microorganisms and speed up decay.
Vermicompost is also a popular type of composting, involving worms to eat organic waste and release nitrogen-rich castings. Redworms, or “red wigglers”, are the ideal worms for vermicomposting and can be purchased online
What You Can Compost
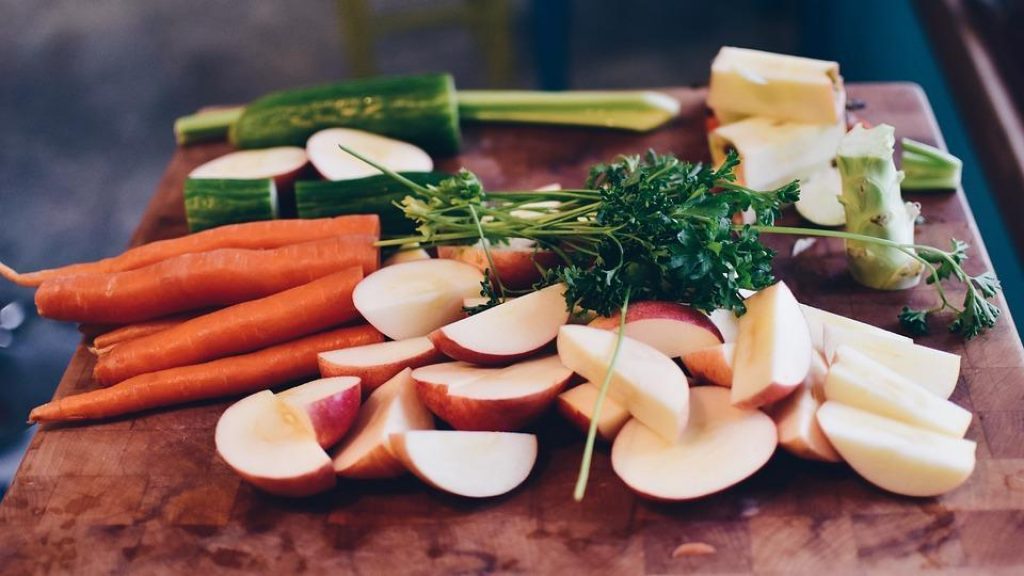
Cold compost is an amazing way to use food leftovers or food waste, transforming it into important food for your plants. You can keep a container in your kitchen for convenience and collect a wide variety of materials for composting, such as:
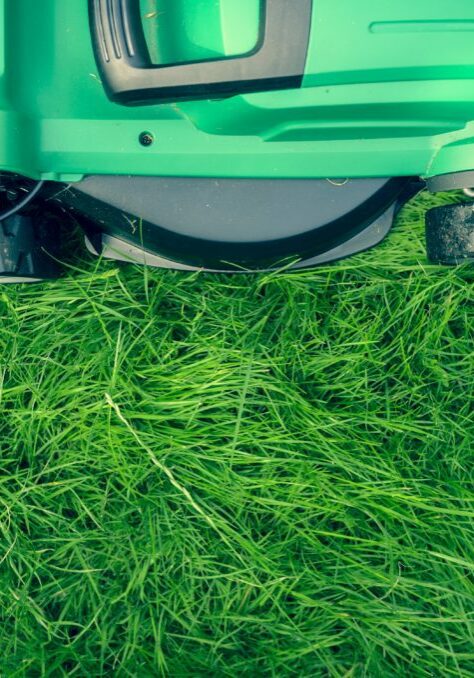
- Green compost. Rich in nitrogen, green compost includes grass clippings, fruit and vegetable scraps, uncooked food waste, annual weeds.
- Brown compost. Rich in carbon, brown compost includes leaves, woodchip, shredded hedge and pruning trimmings, straw, plant stems, cardboard, and paper.
A correct balance of approximately 50/50 green and brown compost allows for microorganisms and beneficial bacteria to properly create compost. Avoid having grass clippings in excess, as they can quickly turn into smelly and slimy mush.

What not to compost:
- Garlic and onions. It’s believed these vegetables repel earthworms, which are vital for your garden to prosper.
- Dairy products. Dairy products attract pests that can ravage your garden.
- Diseased organic waste. These should go to the bin to avoid fungal or bacterial transference to your healthy plants.
- Pet waste. Including litter waste, pet waste poses a health risk.
- Meat, oil grease, and fat. Meat and derivatives have anaerobic bacteria, in addition to the possibility of attracting pests.
- Clippings from pressure-treated wood. Unless you’re absolutely sure that the wood was untreated, these should be avoided.
- Bread and pasta. They attract pests to your garden.
Step #1: Making a Compost Heap
Gather enough organic waste for a three-foot-deep compost heap, combining brown and green waste together. When building up your heap, alternate between layers of brown and green waste; should your compost look wet or have a strong odour, add more brown materials. On the other hand, should your compost look dry and brown, add green material for moisture.
Step #2: Watering
Making sure not to add too much water, or the microorganisms will drown and die, watering your compost heap is important so that it gains a consistency similar to a damp sponge. Dead microorganisms result in a rotten heap instead of composts, so ensure that your materials are properly decomposing.
You can use a thermometer to make sure your heap is warm or, if you’re feeling particularly brave, reach into your heap with your hand – the compost should feel warm.

Step #3: Stirring Your Compost
Compost needs oxygen, so make sure to stir it at least once a week so that it cooks faster and the decreases the chance of foul odours. When the centre of the compost heap feels warm, or the temperature is between 55°C to 65°C.
The layering of green and brown compost guaranteed that your compost has equal amounts of both materials.
Step #4: Feeding Your Plants
When you notice that your compost is dry and no longer emanates heat, and it has a crumbly and brown consistency, then it’s ready. Add approximately four to six inches of compost to your plants at the beginning of their planting season.
Making compost, should you keep the weekly stirring, is ready in six months.
[content-egg module=Amazon template=grid]
Get updates from Pixie's Pocket: brewing and herbs in your inbox:
Posted In Gardening, Guest Post
Tagged: compost, DIY projects, earth, garden, gardening, green clean, guest post, recycle
Craig Holland
Craig Holland is the brand Marketing manager at Plan-Magic, Although his initial dream was to become a pilot he settled for the lively and vivacious world of plants. He has years of experience in caring for plants and writing about it and when he's not doing that he can be found eating super noodles and cheering for Liverpool FC.


